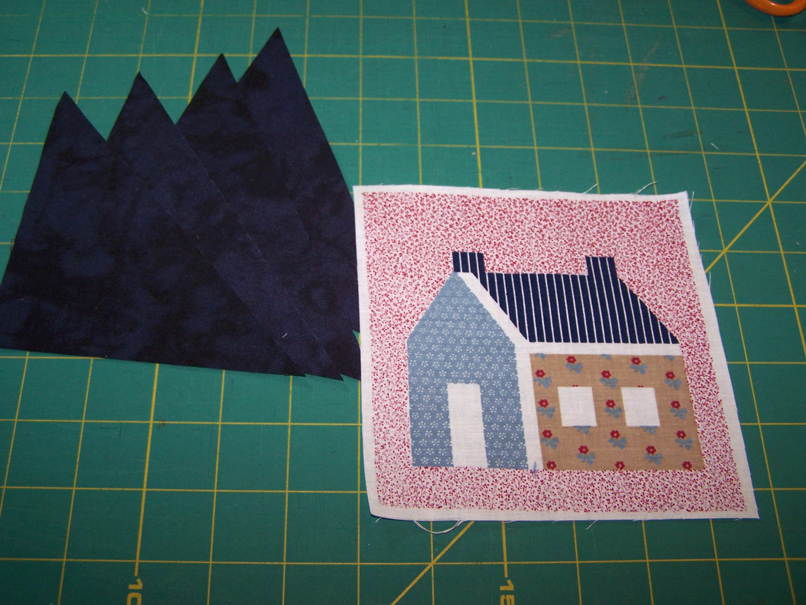
Found this great tutorial at
The Recipe Bunny. Visit the blog, you won't be disapointed
Ingredients:
* 4 coordinating fabrics (a quarter yard is plenty for the white, red
and green fabrics, but it's cutting it really close for the brown - I'd
suggest getting 1/3 yard for the brown pattern pieces to be safe)
* batting
* fabric for the back
* binding strips (mine was cut to be 2.25 inches wide, strips sewn together on the diagonal, and pressed in half)
Directions: (final size 14 inches wide by 58 inches long)
Cut the following pieces from coordinating fabrics:
From the red fabric cut:
* Five 6.5 inch squares
* Two 3.5 inch squares
From the brown fabric cut:
* Twelve 3.5 inch squares
* Two 5.5 inch by 2.5 inch rectangles
* Two 3.5 inch by 2.5 inch rectangles
* Three 6.5 inch square - cut these in half on the diagonal to make 6 triangles
* Six 5.5 inch by 1.5 inch rectangles
From the white fabric cut:
* Twelve 5.5 inch by 2.5 inch rectangles from white fabric
* Twelve 3.5 inch by 2.5 inch rectangles from white fabric
From the green fabric cut:
* Two 6.5 inch squares - cut these in half on the diagonal to make 4 triangles
* Four 5.5 inch by 1.5 inch rectangles
Sew the 3.5 inch by 2.5 inch brown rectangle cuts to 3.5 inch red
squares. Then sew the 5.5 by 2.5 inch rectangle to the side of the
piece you previously formed. You'll form blocks like shown in the
pictures below.
Do the same thing with the 3.5 inch squares from the brown print and the
small white rectangles. Press seams toward the darker fabric.
Sew each 5.5 by 1.5 brown rectangle to the top of one of the
white and brown units you just created. Also sew each green 5.5 by 1.5
rectangle to the top of one of the white units. You will have two white
and brown units left over with no top piece. These are used in the end
rows.
Lay out the pieces so you know everything is pointing in the right direction.
Here are some pictures for a closer look at the rows:
Rows 1 and 2:
Rows 3 and 4:
Rows 5, 6 and 7:
Here's a link to a PDF that I created for the layout of the table
runner. This should allow you to see the blocks/colors used in each row
better than the pictures I was able to take as I was sewing. This PDF
shows the table runner put together BEFORE trimming off the end pieces.
So if it looks a little funny, that's how it should look! :)
Christmas Table Runner Layout
Sew the pieces together into the rows as shown. You'll notice on
the first and last rows that the triangle on the end is longer than the
other pieces. This is OK! You'll be snipping off the excess at the end.
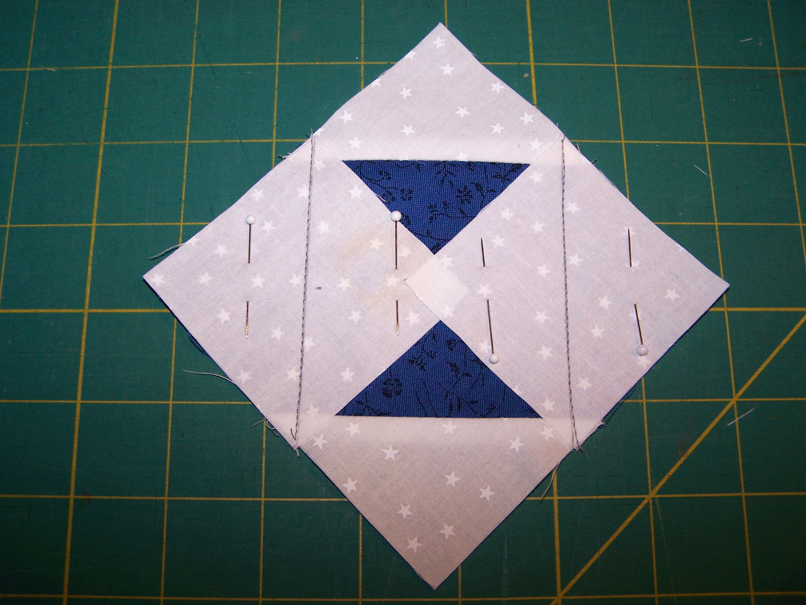
You'll want to pin it like this:
See that the right angle of the triangle matches up with the corner of
the first block you are sewing it to. You'll have the point sticking out
at the top.
For the other end triangles in the middle rows you'll pin like this:
The right angle matches up with the corner and then the point will line up with the long edge of the block.
Press each strip's seams in an alternating pattern. Press the
first strip's seams to the right, the second strip's seams to the left,
the third strip's seams to the right, so on and so forth. This will make
it easier for your blocks and points to match up when you sew the
strips together.
Sew the strips together. This is a little goofy since the rows
are diagonal. What you want to do is nest the seams of the red fabric
pieces, like this:
First and second rows ready to pin together:
Here I have the rows slightly apart so you can see where the pieces
match up. The red block will be the only matching seam on most of your
rows (the first and last rows will have a couple more seams that match).
This is what gives it the zig-zag effect when it's all done - all of
those un-matching seams. Once you see one, you'll get the hang of it.
Like you did when sewing the blocks into rows, you'll pin the end
triangle right to the tip of the row it's joining. So, start pinning
from the red blocks in the middle and work your way out to both ends.
Then sew them together.
And here are the first two rows sewn together:
Continue until you have all of the rows sewn together. Press the
seams flat however you choose to do it. I usually just press the whole
thing in one direction, but if you like to press open, go for it!
Trimming up is the last thing to do now! You surely noticed that extra bit on the first and last rows:
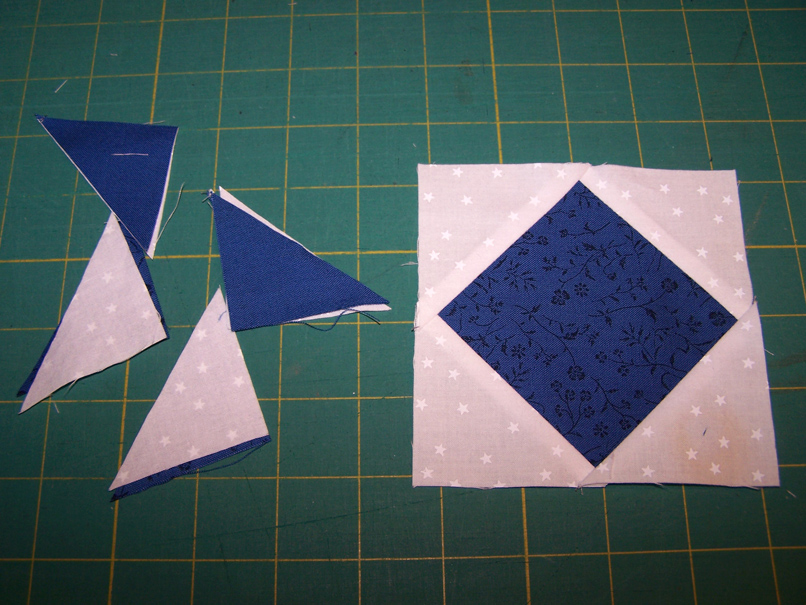
And you also probably have some little corners sticking out along the
sides from the triangle pieces: (similar to ones you get when you have
to trim up half-square triangles)
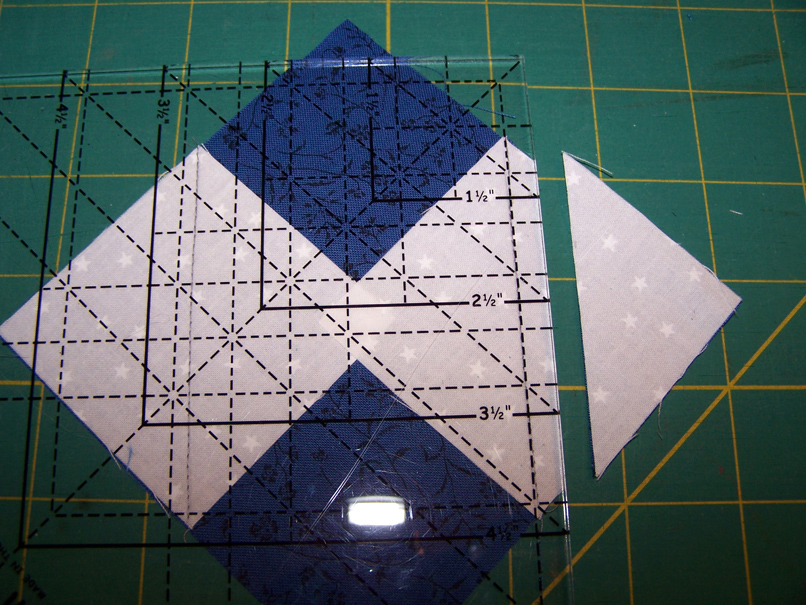
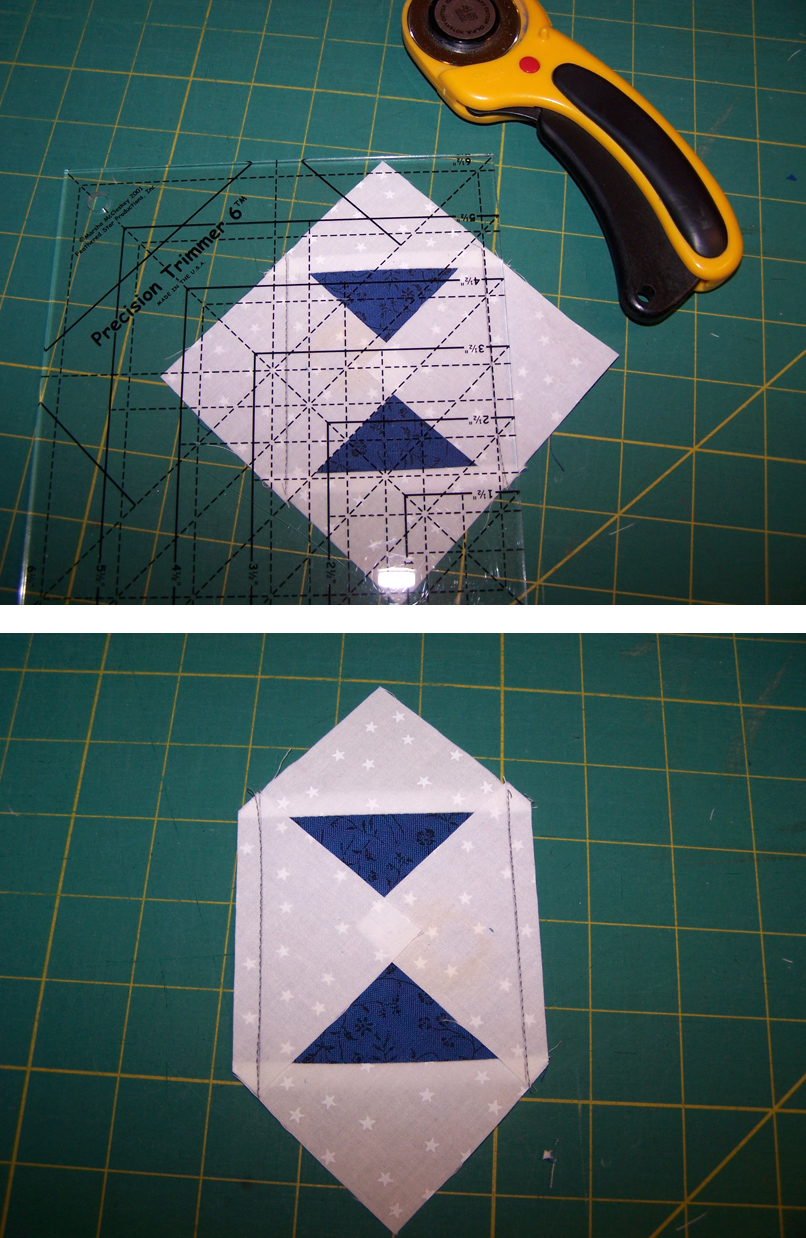
Well, now we get to make it look all pretty! Take a ruler and chop off
the tip of that triangle on the first and last rows. This is going to
make it look just like the other side of the runner so it is balanced.
You'll do the same thing with any little corners you have sticking out
on the sides. How you pressed your seams will determine how many of
those little corner things you have to trim off. Just trim them flush
with the side of your runner.