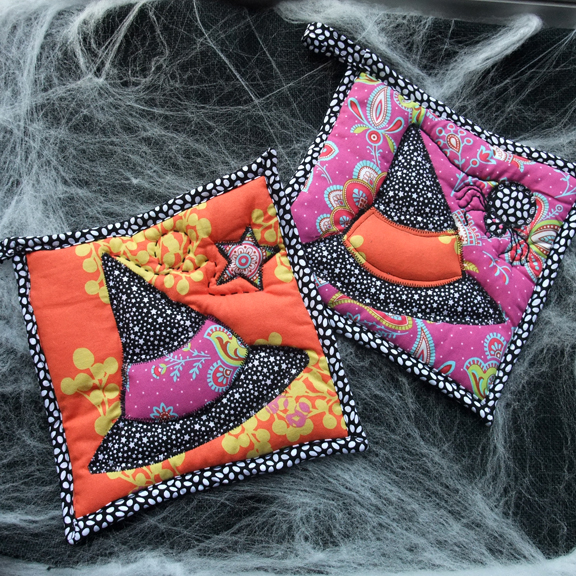
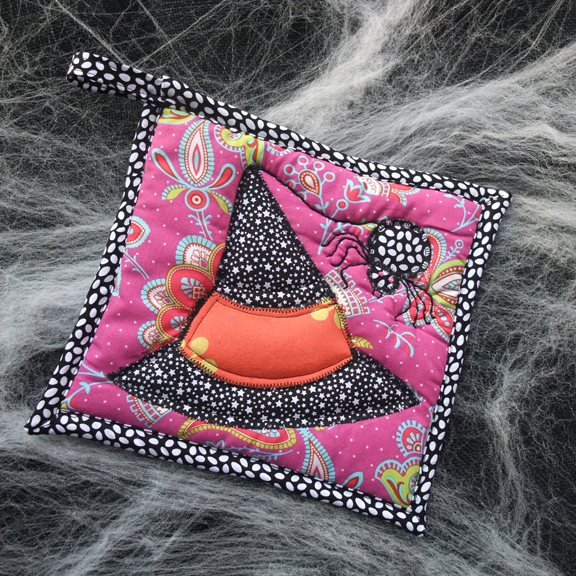
The orginal post you find here
 Wondering how you’re going to handle your hot caldron this
Halloween? How funny…so was I! Witch, I mean which : ), is what inspired
me to design a couple of quilted caldron/pot holders. Follow along for a
quick tutorial.
 materials:
4 assorted fabrics (9″ x 9″ top; 9″ x 9″ bottom; hat and star according to pattern; 40″
x 2″ binding; 6″ x 2″ loop hanger); batting (3-10″ x 10″ squares);
fusible web; iron; sewing machine; thread; needle; embroidery floss.
 1. Use my free pattern (click here
) to trace the hat bottom, middle band, hat top and star onto the smooth side of the fusible web, leaving a 1/4″ allowance all around each shape. Cut out the shapes just outside the marked lines. Press the hat shapes and star onto the wrong side of each of the chosen fabrics. Cut out the shapes accurately along the marked lines. Iron the shapes to the quilt top.
 2. Make a quilt sandwich with the bottom/back fabric,
three pieces of batting and finally the top/front of the potholder (a.)
Pin together with safety pins.
3. Use a variety of machine stitches to quilt your
block together (b.-c.) Use hand stitching to quilt the twirly line
connecting the star to the hat.
4. Trim the excess batting from sides to make a perfect square.
5. To make the hanger loop, fold a 6″ x 2″ fabric
strip in half lengthwise and press. Open out and fold each raw edge
toward the center fold. Stitch along the long edges (d.) Set aside.
6. Cut a 40″ x 2″ strip of fabric for the edge binding.
My new favorite way to machine attach binding is courtesy of my
quilting instructor, Heather. She has a fabulous picture heavy tutorial here. Attach the loop hanger into the left hand corner of the binding.

Keine Kommentare:
Kommentar veröffentlichen